Please find below the step by step process to follow to create your own online registration process and have it sanctioned by AFA
Step 1: Create your listing (or copy it from one of your previous listings)
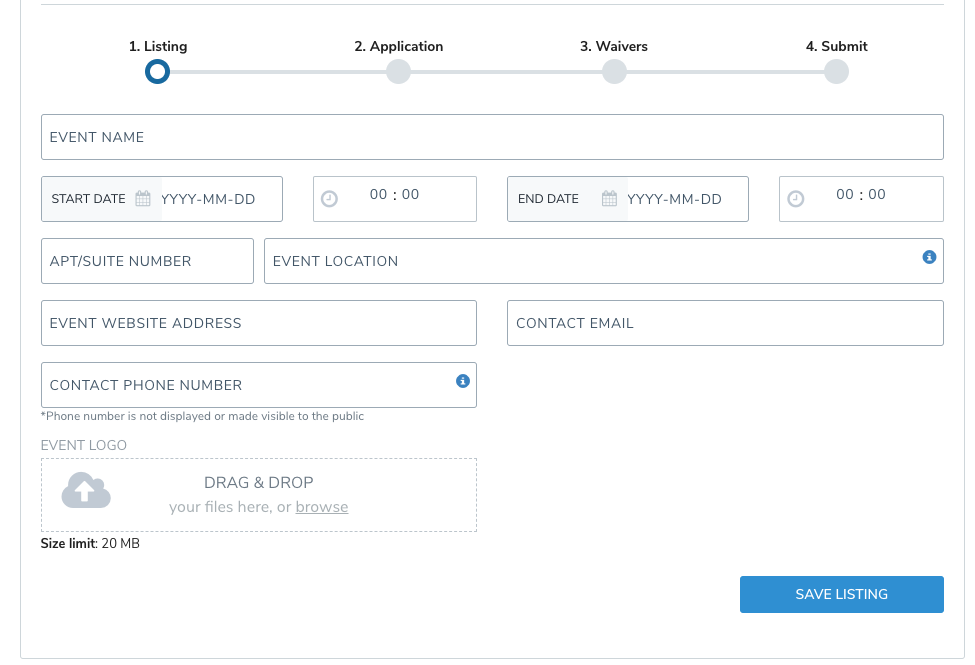
A listing gathers the basic information about your event:
Start date and End date should be set up as from September 1 to August 31 for all clubs.
If you already used 2M for your club last year, or if you already started your application at a previous date, you can reuse a listing with the "copy from an existing listing" option 
Once you've selected the option, all your existing listing will show up as below:
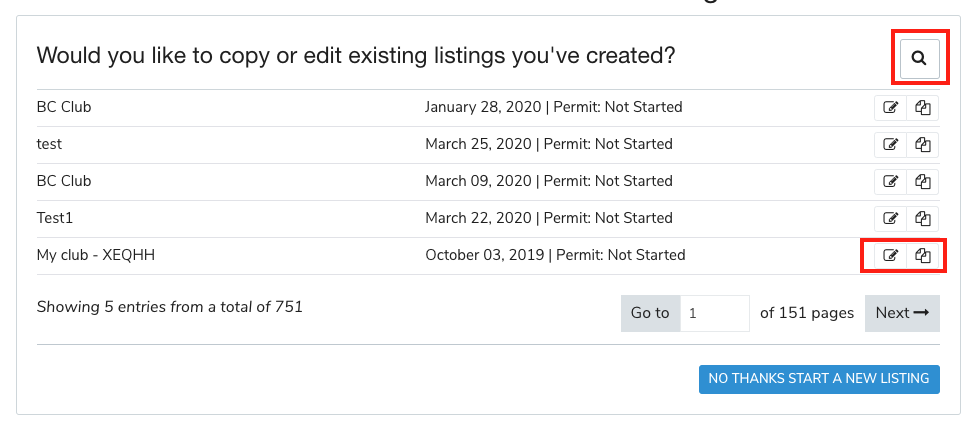
If you have more than 5 listings, you might want to use the search function: 
Once you found the listing you need, you can either continue an existing incomplete application using the  icon, or copy the information and start a new application using the
  icon.
icon.
Once you've filled all the required information, select 
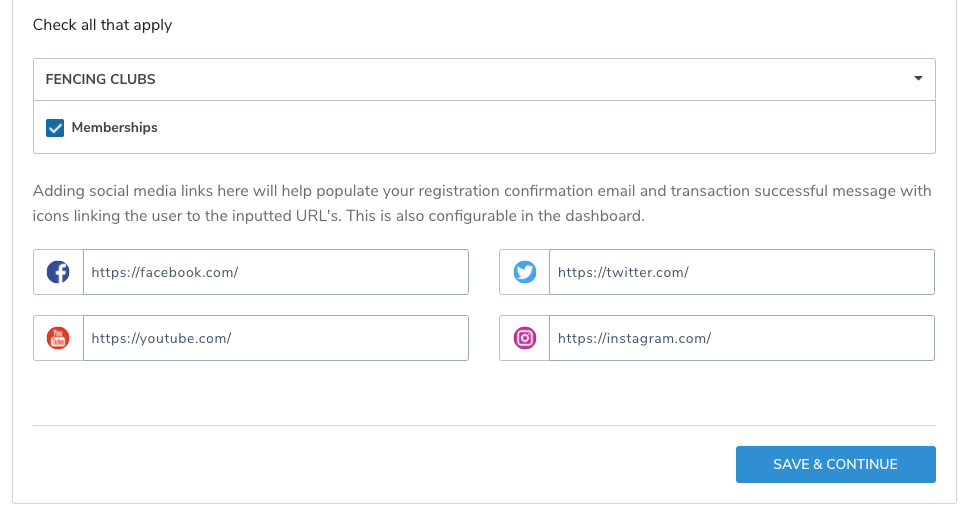
Then, you will be prompt to select your listing classification and to add your social media links. Choosing the appropriate classification will help the registrant to find your event/club easily in the search function of your website.
Step 2: Complete your club information (to be approved by AFA)
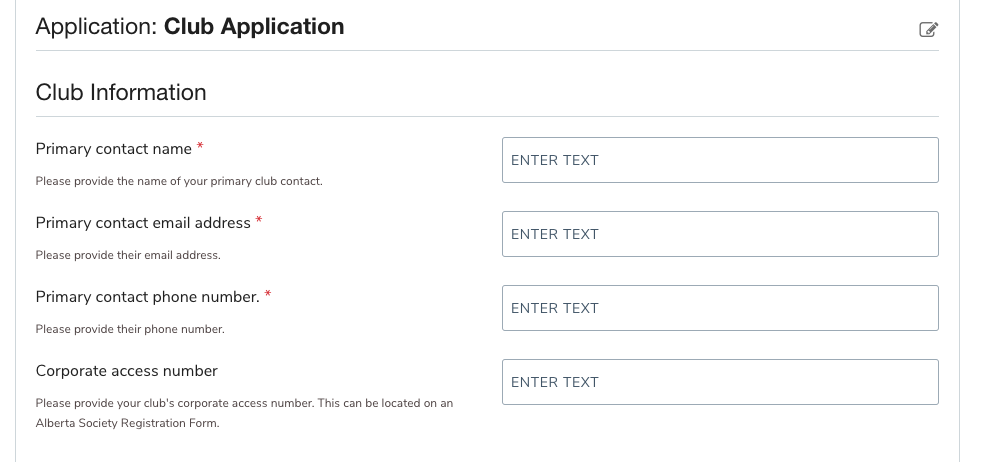
Once complete, hit 
Step 3: Complete your officers' information
Select all position existing for your club:

And complete the information needed for each of them:

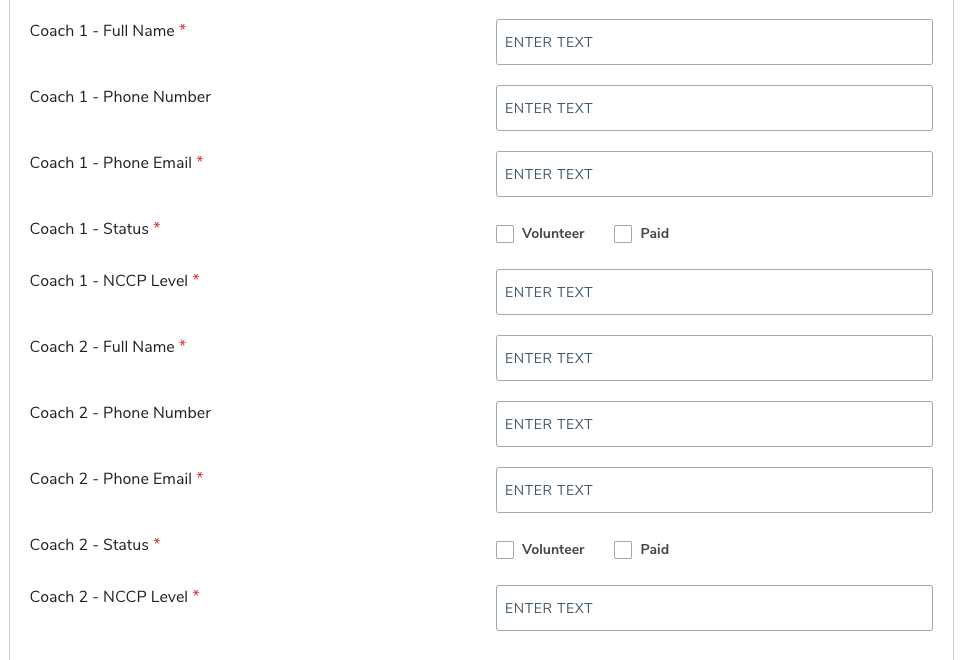
Step 4: Complete your coaches' information
Select how many coaches you have for your club (volunteer and paid)

And complete the needed information for each of them
Step 5: Create your online registration membership types and prices
You should create at least one category by category selected in the event information questions (primary and additional)
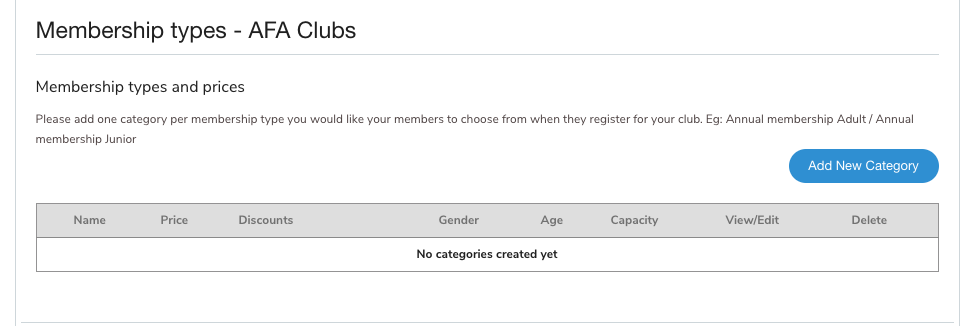
To add one category, just select 
Mandatory: Add Category Name. Eg: Annual Membership - Adult
Optional: You can also add a description and a max registration capacity

Optional: select age or gender restrictions

Mandatory: Add a price (the category price name will auto-fill)

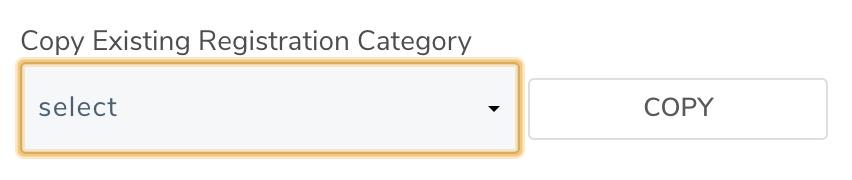
If you need to add more than 1 category, you can select 
If your next category is similar, you can use our Copy Existing Registration Category tool and update what's needed:
When you're done with the last category, just select 
And then save again your section 4/6
Step 6: Complete your calendar of events
Select how many events you want to add

Complete the needed information for each event:
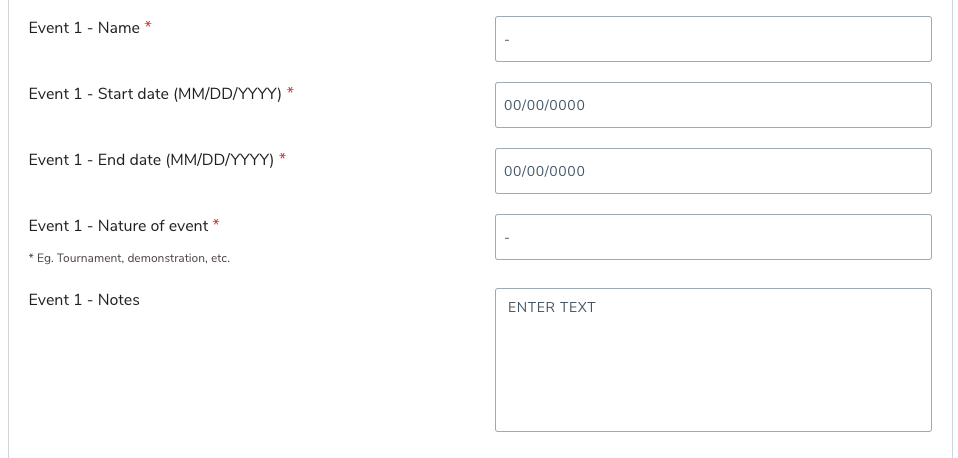 Once complete, hit DONE

Your cost summary will display (may vary depending on the option you have chosen)
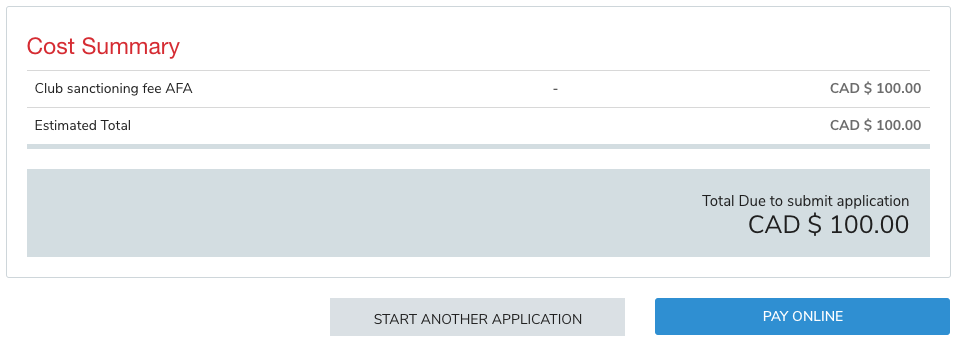
Step 7: Pay online
Select "pay online" - then you'll be prompt to sign any waiver related to your application

Select "I agree to the above" once you've read the waiver and entered your name
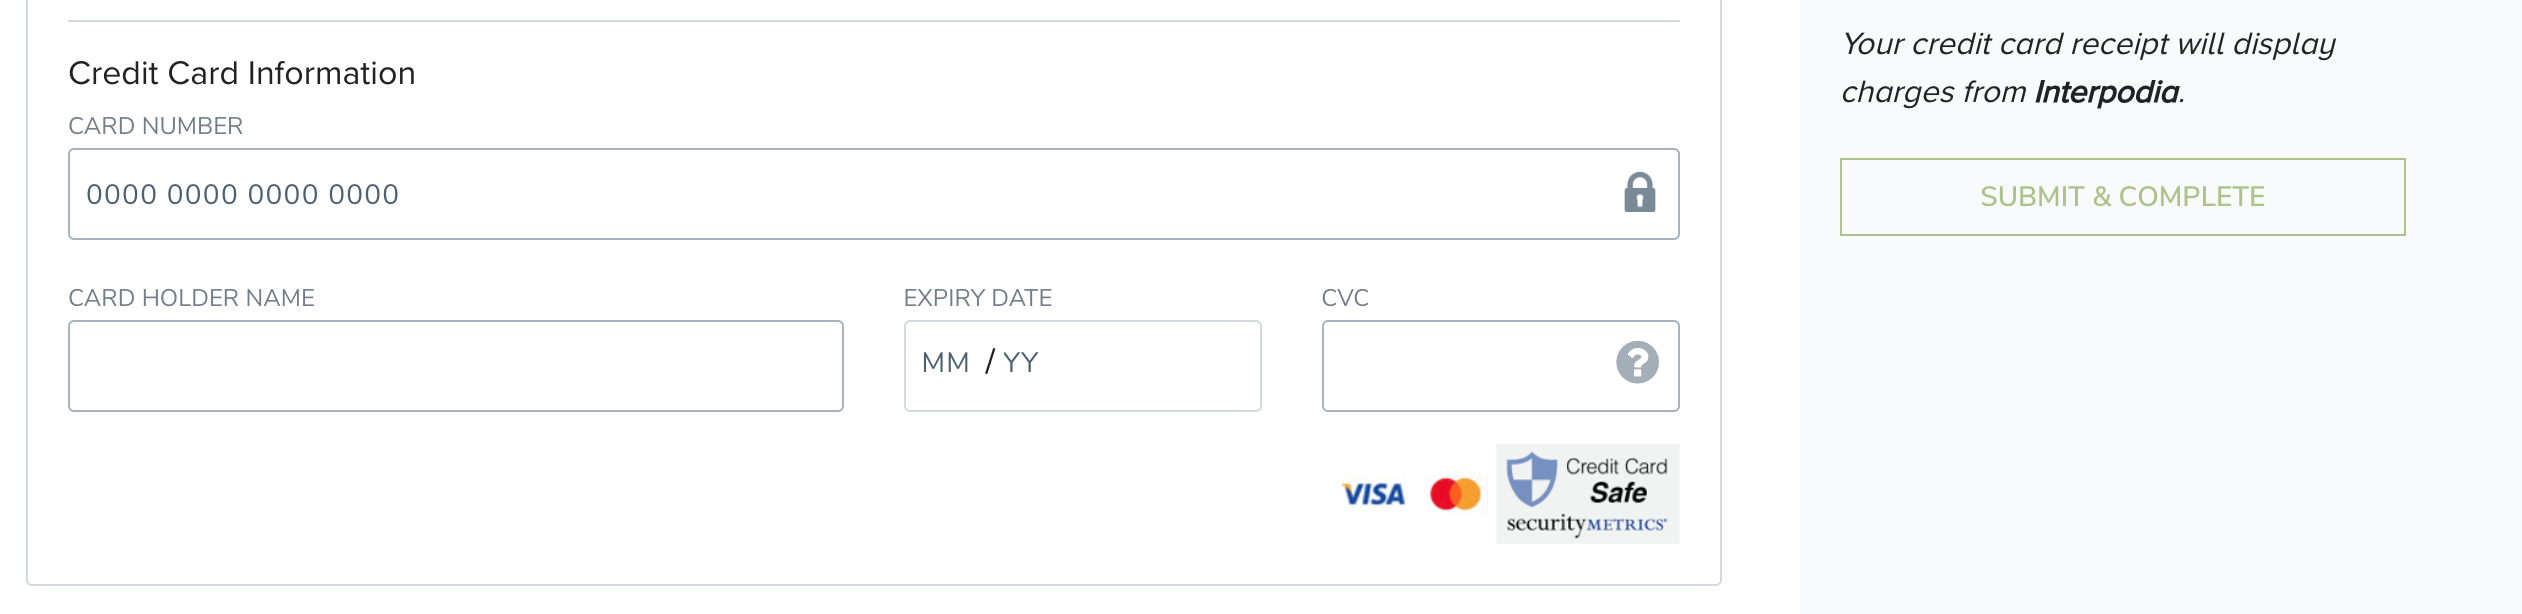
Once in the cart, complete or confirm your billing address:
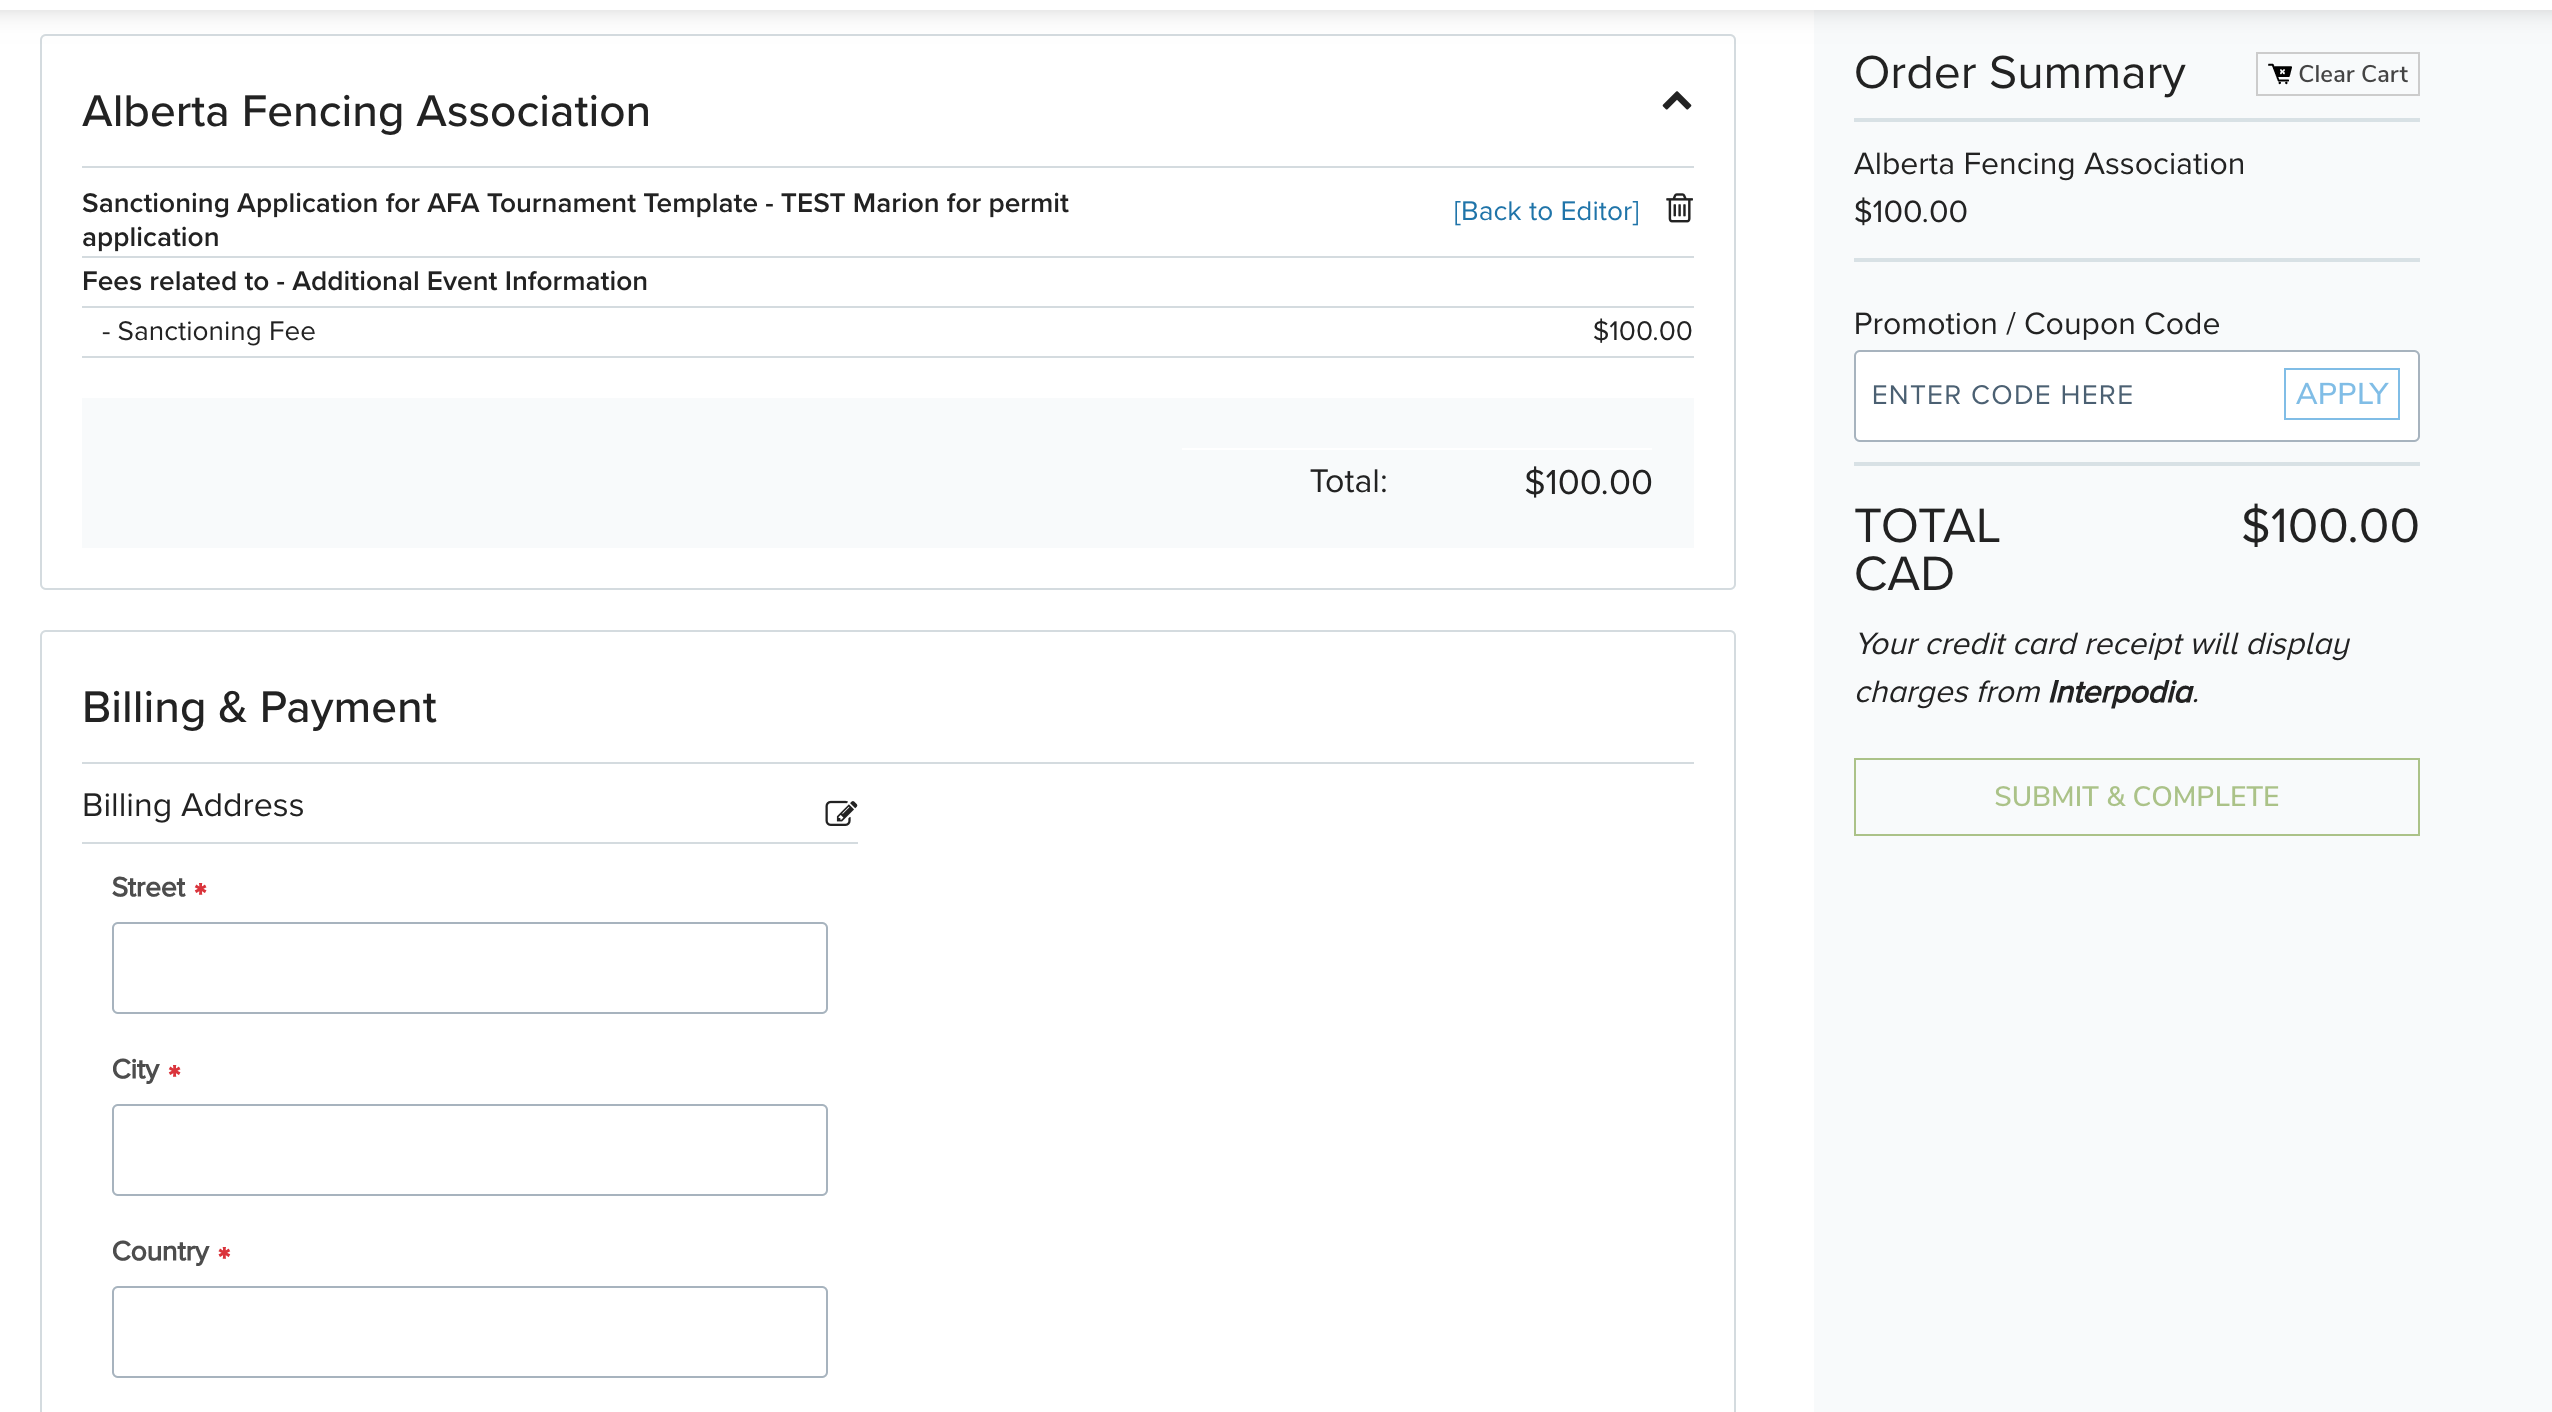
And enter your payment information and then hit "select & complete"