This article will tell you how to use the admin store that has been created for you.
This training guide will show you how to create products or services that you want to sell but that are not available to the general public online. It will also show you how to assign a revenue account to the product or service.
Step 1) Accessing your Admin Store
We’ve created a store that you can use to house all of your admin products or services. If you're not sure about where your admin store name is, please contact info@horsereg.com for more detailed information.
To find the store, go to: Events > Admin Store > Configuration > Stores
1- 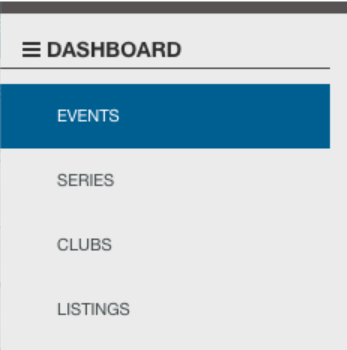
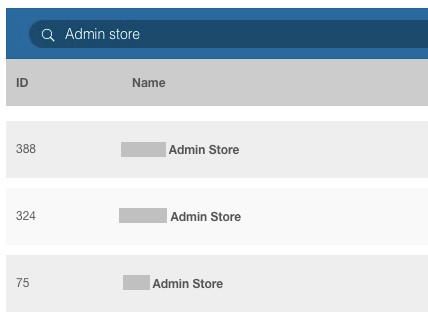
2- Search for your admin store
3- Go to the configuration tab

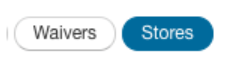
4- Go to the "stores" tab
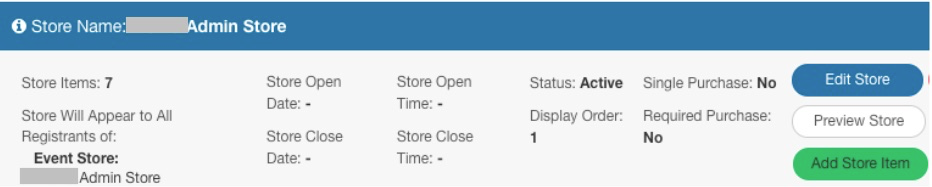
Step 2) Add a New Store Item
From the top store section, click on Add Store Item:
Give the store item a Name, and a display order (the higher the number, the lower it will show in your admin store.
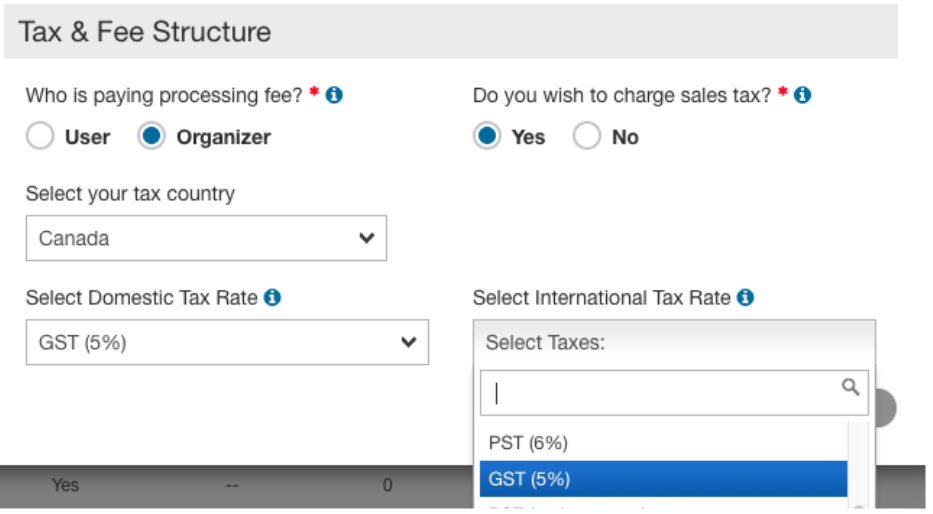
Set your taxes and fees for the store item.
Step 3) Add Purchase Options
You can think of these as products within a product group. For example, you might sell T-Shirts, and the sizes could be Purchase Options.
You can have one purchase option per store item or multiple. A few notes:
- Taxes can only be set in the Store Item
- Prices are set on the Purchase Option
- In your reports, we generally show “Store Item > Purchased Option”
- Revenue accounts can be tied to the Store Item or the Purchase Option
Helpful Hint: to make a product where the price changes, add a Purchase Option for Dollars, and one for Cents. Like this:
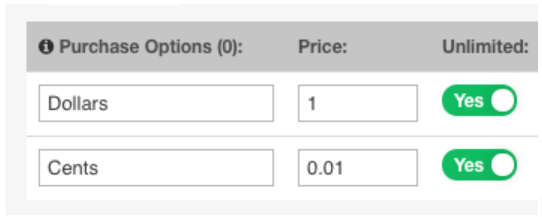
Save your purchase options.
Step 4) Create GL Codes (Unnecessary if the GL Code has already been created) Assigning Revenue Accounts to your Products
Go to:
Financials & Accounting > Choose the Account Group > GL Codes > GL Codes
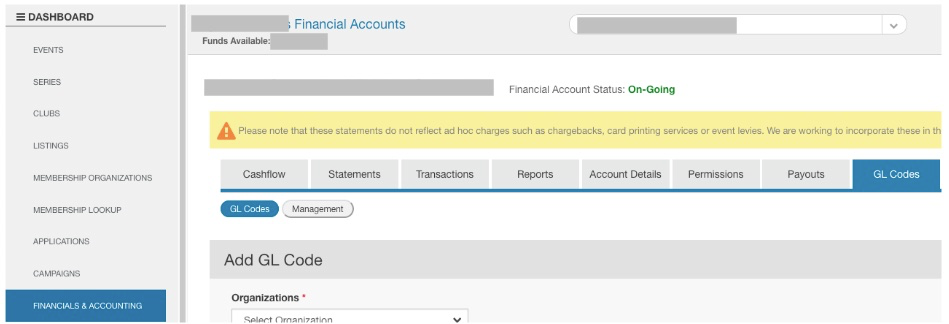
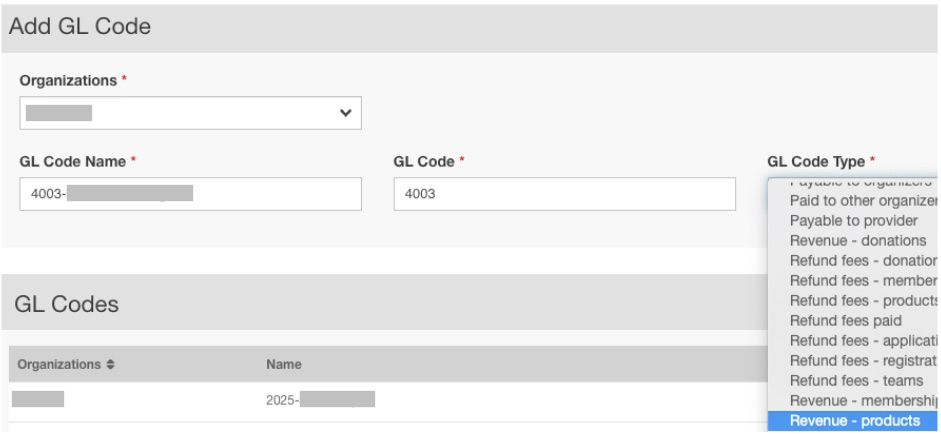
Make sure all of the GL codes you need exist, if they don’t, then Add a new GL Account
Helpful Hint: Revenue accounts for products need the GL Code Type “Revenue - Products”
Step 5) Assign GL Codes
Go to the Management tab under GL Codes
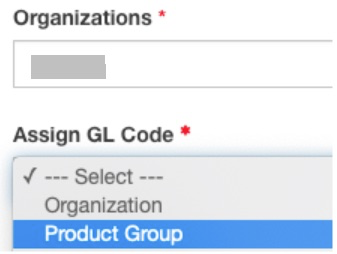
Click, Assign GL Code
Choose the Organization that houses the products, and assign the GL Code to Product Group
Choose the Product Group and the Specific Product
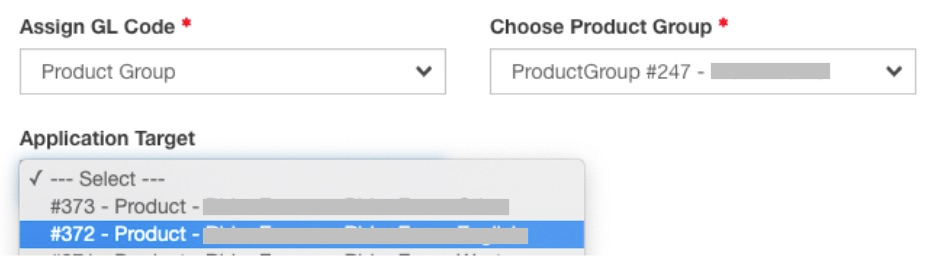
Choose the Product Group and the Specific Product
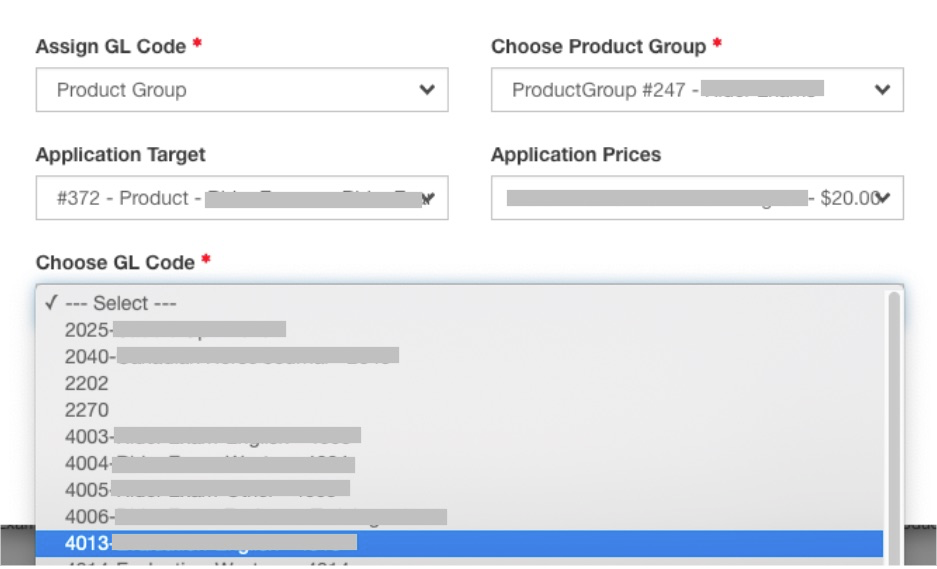
If there’s only one GL Account being assigned, choose the price, and choose the GL Account:
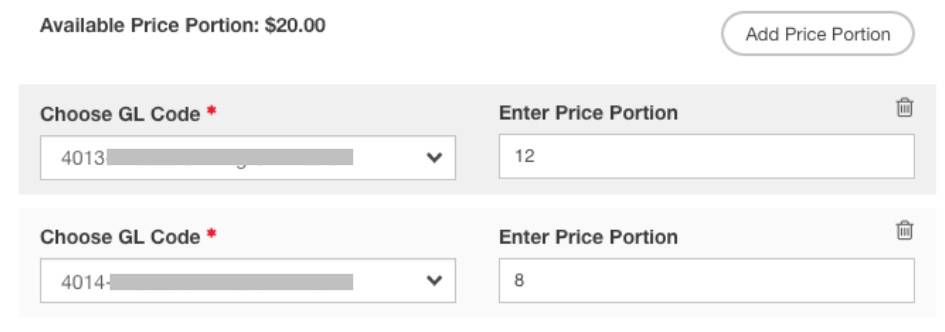
If you’re splitting the revenue into multiple GL Accounts, Click Add Price Portion and choose the GL Account and dollar value:
Step 6) Buying things through your Admin Store
You can find the URL by going to your event's "competition / event listing" tab
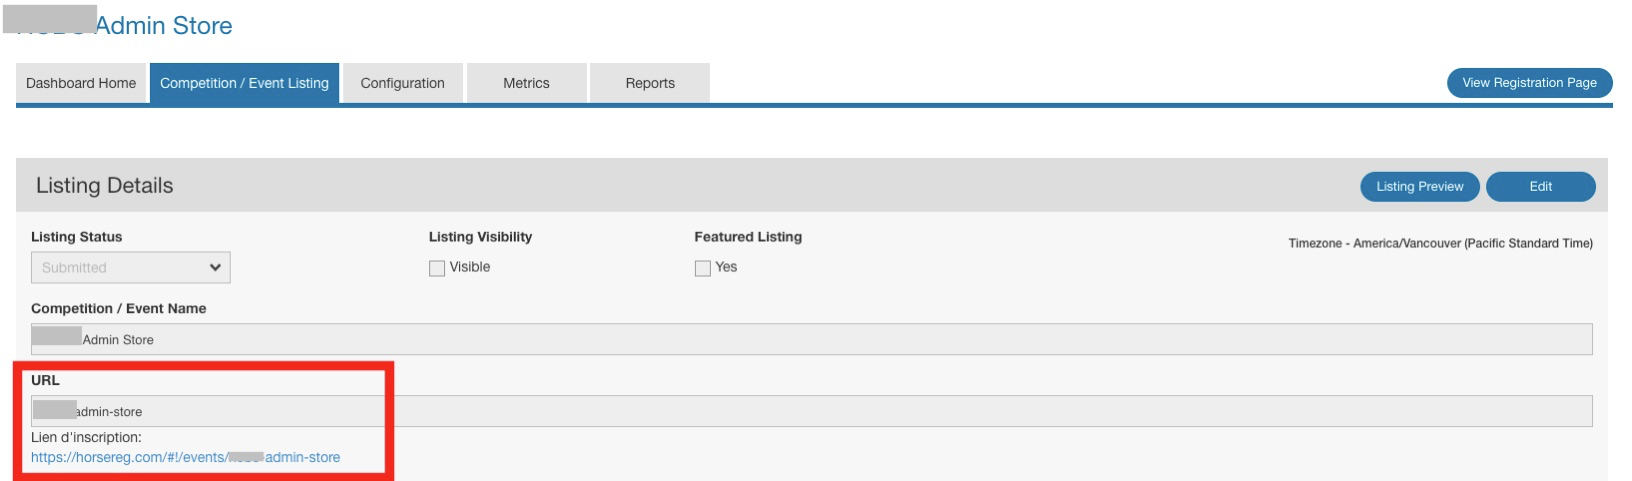
At the end of your URL add /store/ORGNAME-admin
EG - https://horsereg.com/#!/events/ORGNAME-admin-store/store/ORGNAME-admin