Follow the steps below if a member has purchased a license or offline membership and needs to be added to their profile.
- Does this person have an existing user account?
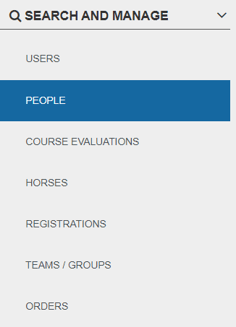
It's important that you first search the existing database to see if the member already has a user account. If they do, you must connect the member's new license/membership to their existing account. - Search for the member by either first name, last name, or email under People/Users under Search and Manage
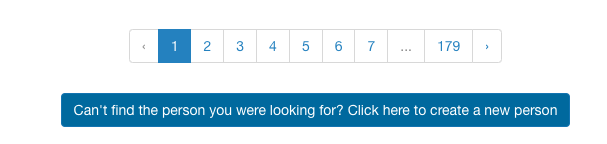
- If they DO have a user account, select the account to open the profile details. If they DO NOT have an account, create a user by clicking the button Can't find the person you were looking for? at the bottom of the page. Once the user is created refresh your search and click the details icon.
- In the Profile Details screen, you can create a membership for that member in the second section on the page memberships.

- Once a new membership is created you will automatically be forwarded to the Membership Details page for the license/membership you just created.
- Then complete the Membership Details.
Optional fields you may want to complete:
- Member Address
- Citizenship (if applicable)
- Shipping Address (if applicable)
- Upload Photo (if applicable)
7. Now assign a Purchase Group. A Purchase Group is our technical term for a license/membership option. Essentially what the person has bought and is entitled to. In the center of the Membership Details page (third widget) there is a drop-down menu to Add a New Group. Choose the type of license/membership the person has paid for or is entitled to and "Add Membership".

The license/membership you've manually created is still INCOMPLETE. You still need to finalize the membership.
8. To complete the Membership, once you've clicked add group you'll be presented with a window that looks like this:
Example of membership with multiple sub-categories (dropdown selection)
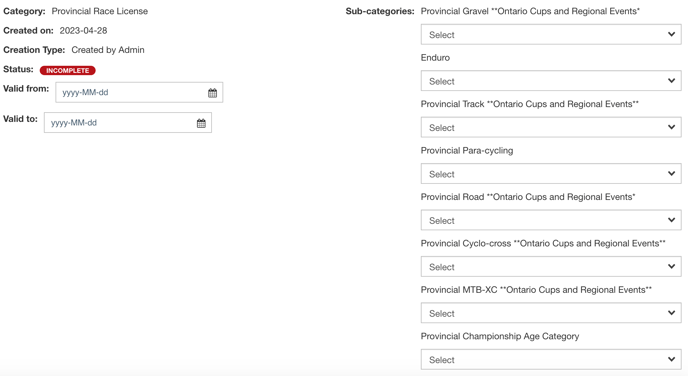
Then select any subcategories the registrant may have attached to their existing license using the drop down menus.
Example of membership with a unique sub-category (checkbox selection)
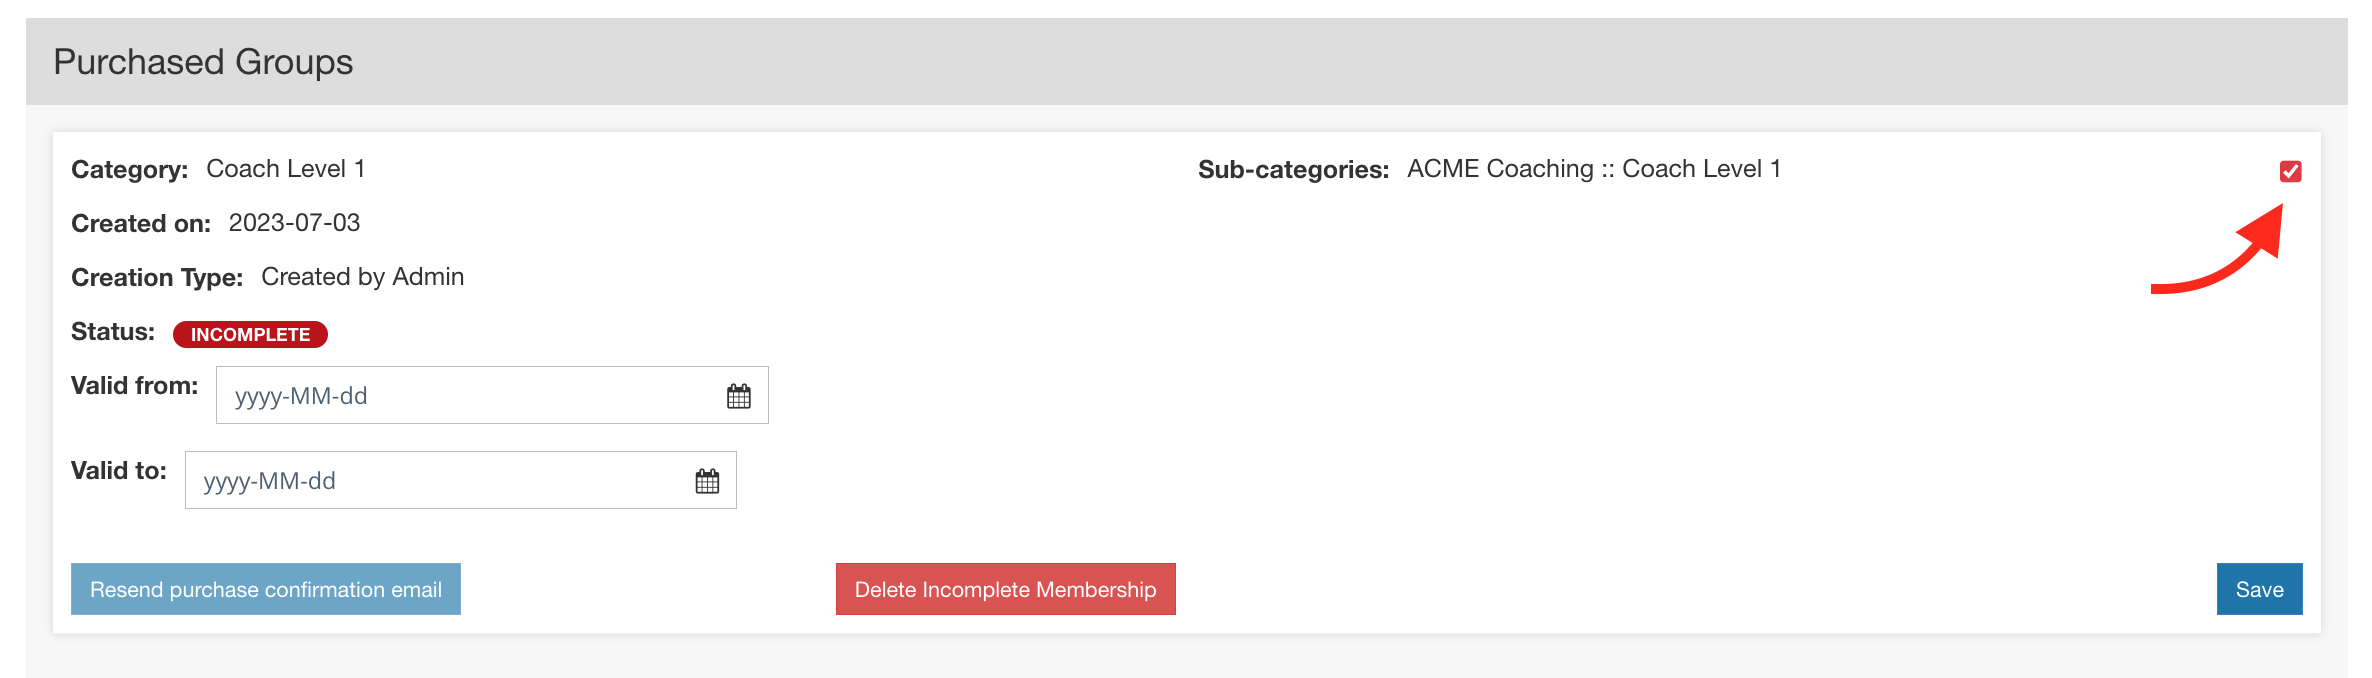
9. Indicate Valid From and Valid To dates (if applicable)
Once done with your selections click the save button.
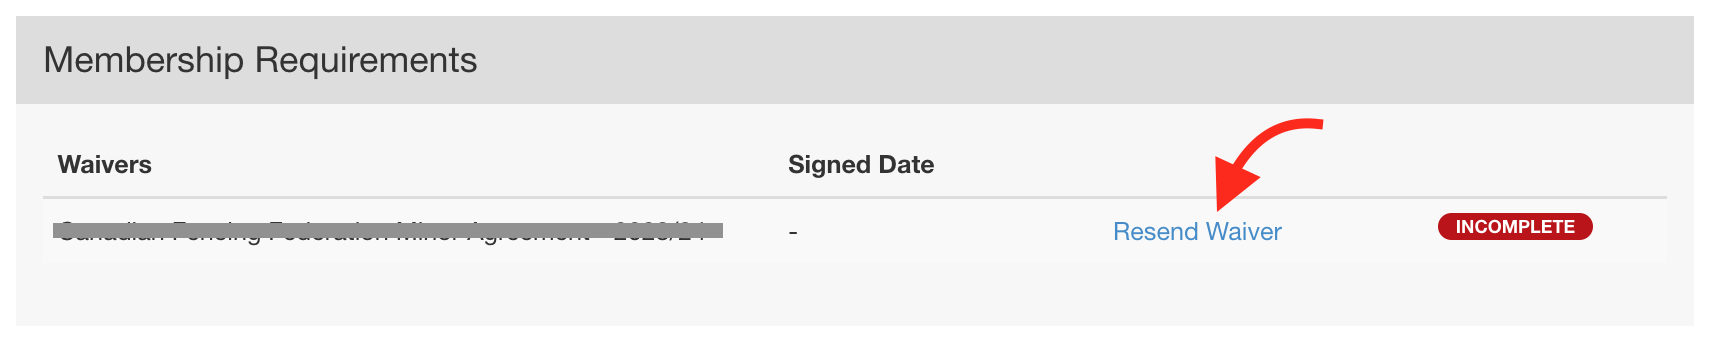
10. Send the waiver signature link(s):

12. Additional information
- Membership Number
If the member number did not carry forward from a previous license/membership you need to generate a member number. In the upper-right side of the Membership Details page there is a widget for Status and Number. To generate a number click the "edit" button, then the "Generate Number" button, then save. - Extra Questions
If the license/membership you've assigned to the member has additional "questions" they will now appear at the bottom of the page under the two address fields. You can complete the questions if you choose to do so. - Waivers (if applicable) Don't forget to send the waiver signature link(s):
Now that you've completed the license/membership you have the ability to generate the appropriate documents (license/membership card and/or welcome letters).