Bulk Import permission needs to be set up by our support team - if you don't have access to it yet, please contact your account manager.
1. How to Bulk Import
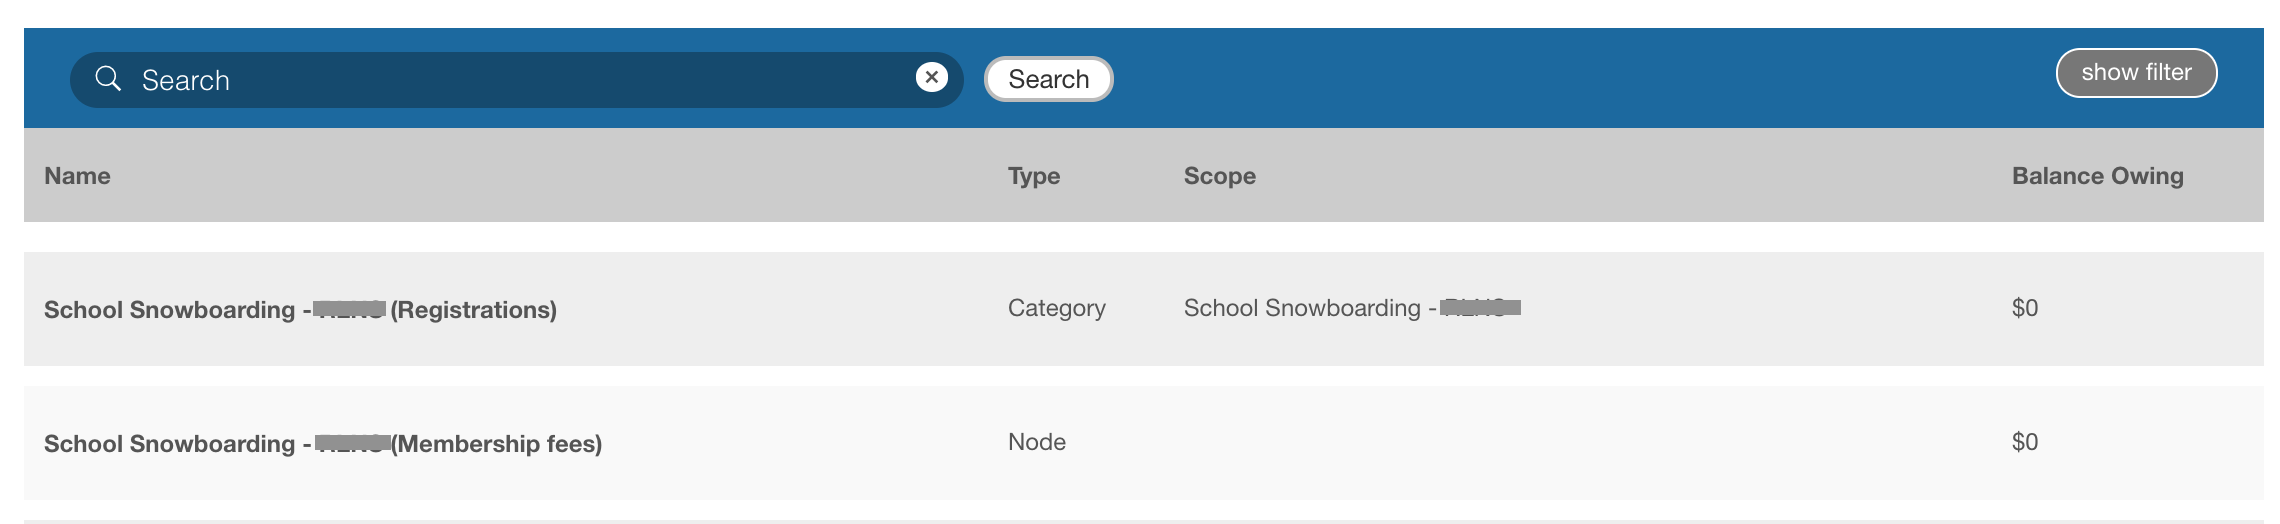
1.2 Registration Categories (Club programs)
2. Payment of your balance via your payment group
3. Potential Errors your submission sumary email may return
3.2 Organization Type Error - Please select valid choice
3.3 Identity not eligible for selected Member Type
3.5 Missing Membership Type Selection
3.7 Missing Date of Birth (DD/MM/YYYY)
4. Need help?
1. How to Bulk Import
1.1 PTSO and NSO Membership
How to do download your template file?
As an admin, you'll have access to the "IMPORT MEMBERSHIPS" option from your:
- PSO/NSO: Membership organizations menu

- Club: Clubs menu

1- Click on the "Import Memberships" button
2- The Import Memberships Pop-up window will appear

3- Select the organization name you want to import membership in the drop down - Make sure to select the right club affiliation

4- Once you've selected the organization + club name you need, the "import template" button will populate, you need to select it to access the document to be complete for the import

Questions about how to fill you import template? Click here
You NEED to complete the import template, importing your own in-house file will not work as the data need to be organized in a specific way for the system to be able to read it.
5-How to perform the import?
If you had closed the import popup, click on Import memberships again from you admin dashboard

6- Click on select file and choose the file you need to import - make sure you have imported the correct one by checking the name of the 'selected file'

7- Make sure you have accepted the disclaimer

8- Click Upload File
9- The import will start, and once completed, you will receive an email with the result. Moreover, your imported members will receive a notification to sign their agreements (if applicable)

Once the waiver(s) have been signed (if applicable), they will get their confirmation email with their membership card (if applicable).
As an admin, you'll receive a summary report email, which look like that:

↓Jump to Payment ↑Back to the Table of Content
1.2 Registration Categories (Club Programs options)
How to do download your template file?
As an admin, you'll have access to the "IMPORT MEMBERSHIPS" option from your:*-
- Club: Clubs menu

If you're a club importing BOTH memberships and club registrations, make sure that your club registration category is OPEN before you start the import. If we created a dedicated registration category for your imported members, make sure to CLOSE the registration category once the import is done.

1- Click on the "Import Memberships" button
2- The Import Memberships Pop-up window will appear
3- Select the organization name you want to import membership in the drop down - Make sure to select the right club affiliation
4- Once you've selected the organization + club name you need, the "import template" button will populate, you need to select it to access the document to be complete for the import
Questions about how to fill you import template? Click here
You NEED to complete the import template, importing your own in-house file will not work as the data need to be organized in a specific way for the system to be able to read it.
5- How to perform the import?
If you had closed the import popup, click on Import memberships again from you admin dashboard
6- Click on select file and choose the file you need to import - make sure you have imported the correct one by checking the name of the 'selected file'
7- Make sure you have accepted the disclaimer
8- Click Upload File
9- The import will start, and once completed, you will receive an email with the result. Moreover, your imported members will receive a notification to sign their agreements (if applicable)
Once the waiver(s) have been signed (if applicable), they will get their confirmation email with their membership card (if applicable).
As an admin, you'll receive a summary report email, which look like that:
2. Pay for your memberships/registrations
Once the import has been completed, the last step is to complete payment for your membership fees (and, if applicable, your registration fees).
Attention:
Even $0 membership/registration fees have a payment group to be completed.
1. Go to your 'payment group' menu: 
2. Open your payment group(s) from the list:
3. You can update and download your current invoice

4. Make sure your billing Information is up to date

5. To pay for your outstanding transactions, depending on the agreement with your account manager, enter your credit card information and submit your payment OR select the "offline payment" option for an offline payment
You need to add a billing contact and a billing address before processing the payment

6. Once the payment has been processed you'll find your receipt in the payments section

3. Potential Errors your submission result email may return

It may happen that the email mentions "Rows with error (not created). Here are some of the most frequent one:
3.1 Missing Required Fields
This error happens for at least one of the following reasons:
1. Go back to your template and make sure to complete all the columns with a BOLD title.
2. The name of the Membership Type and Gender MUST show in English. It sometimes happens that Excel auto-translate the information in the dropdown menu to according to your computer setting. If that is the case, download a new template.
3.2 Organization Type Error - Please select valid choice
This error is often synonym that our team have updated the Organization responsible for your membership. If you encounter this error, please download the most recent version of your Import Template.
3.3 Identity not eligible for selected Member Type
This error happens for at least one of the following reasons:
1. You are trying to register a member in a a category with a gender requirements. Confirm the gender entered in the Column D and the Membership Type you have selected for them
2. You are trying to register a member in a a category with an age requirements. Confirm the date of birth entered in the Column C and Membership Type you have selected for them.
Contact your Membership Organization. They will be able to confirm the Calculation Date used for the age requirements for the selected Membership Type
3.4 Multiple Identities exist with matching EXACT or REVERSED names, and matching EXACT or REVERSED dob
This error happens when the system recognize the information you have entered in your template and recognize a similar identity that already exist in our system. To resolve, please follow this Two Step Process:
a) Verify your template and confirm that you have indeed entered your athlete First Name in the Column A (FIRST NAME) and the Last Name in Column B (LAST NAME)
b) If you don't see any error, please contact us directly. It means that the athlete already have an account with an error. We will need to make the correction on the system before you continue.
3.5 Missing Membership Type Selection
This error happens for at least one of the following reasons:
1. You may have forgotten to select a Membership Type for this athlete. Go back to your template and confirm if a selection was done.
2. Some modifications were made to your Organization's configurations and you are attempting to use a template that is not up to date. Download a new template and try again.
3. The name of the membership type MUST show in English. It sometimes happens that Excel auto-translate the information in the dropdown menu to according to your computer setting. If that is the case, download a new template.
3.6 Invalid Country ISO3 code
The column Country validation require you to use the Dropdown Menu configured in the template

If you attempt to manually enter any other value, the system will throw an error.
3.7 Missing Date of Birth (DD/MM/YYYY)
To resolve, confirm the format for your date of birth you have entered. You may have have inverted the order, or may have left it blanked. The required format expected is written in the column title :

4. Need Help?
Technical Support
Each platform has a Support section on the top bar.

It will redirect you to our support page with our contact information specific for each platform, and a direct contact form. 
Allow 1-2 business days for a response.
There is also a chat box is available from within the club dashboard. The chat box is located at the bottom-right of the dashboard and is visible from Monday to Friday between 7:00 AM and 5:00 PM PDT. Response time ranges from a few minutes to a few hours.
Questions in English and in French are welcome!
Can we talk?
If you prefer to speak one-on-one with the support team, please request a phone or video call by sending an email to info@interpodia.com with your availability.
KNOWLEDGE BASE
Clubs should check out Interpodia’s bilingual Knowledge Base, which includes guides, articles, and helpful hints.