If Interpodia created a sanctioning process for you, please find in this guide what are the main things to know about managing your sanctioning process.
Table of content:
Find the clubs renewal links (if you're using renewal links)
1st step: communicate with your members
2nd step: manage your permit/application queue
Find my clubs renewal links
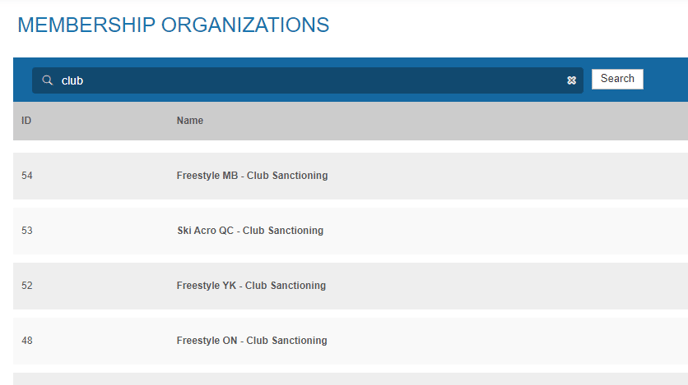
To find the renewal links for your club admins, you can locate them in the "permit reports" section of your club-sanctioning membership organization.


1st step: communicate with your members
If your organization is in charge of approving club sanctioning/application, it is important to ensure that the people involved in the process are well-informed.
1- Email the known members with the information they need
- If you can't recall your sanctioning link, please reach out to your account manager for assistance and more details.
- Here is a helpful guide to assist you in starting the application process for your club. It provides step-by-step instructions to get you started on the right track.
2- Have the link available from your membership organization landing page
You have the option to include a button on your website that will guide individuals seeking club or event sanctioning to the appropriate process. This button can be easily accessed and clicked to ensure a smooth and efficient experience.
 or
or 
If you need assistance with updating your landing page, we have a helpful article that provides step-by-step instructions. It will guide you on where to go and how to make the necessary changes.
If you are unsure about how to create or add a button using HTML code, we recommend reaching out to your account manager for assistance. They will be able to guide you through the process and provide you with the necessary support.
2nd step: manage your permit/application queue
1- How to access my queue
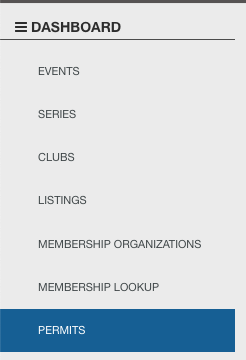
After logging into your account, navigate to the 'Tools' section on the top right of your screen and click the 'Dashboard' option. From there on the top left select 'Permits' or 'Applications' or 'Affiliation/Sanctioning' tab, depending on the specific website you are using.
or

or

2- Manage my list of existing applications
In the permits/applications menu, you will find all the current applications for your PTSO.
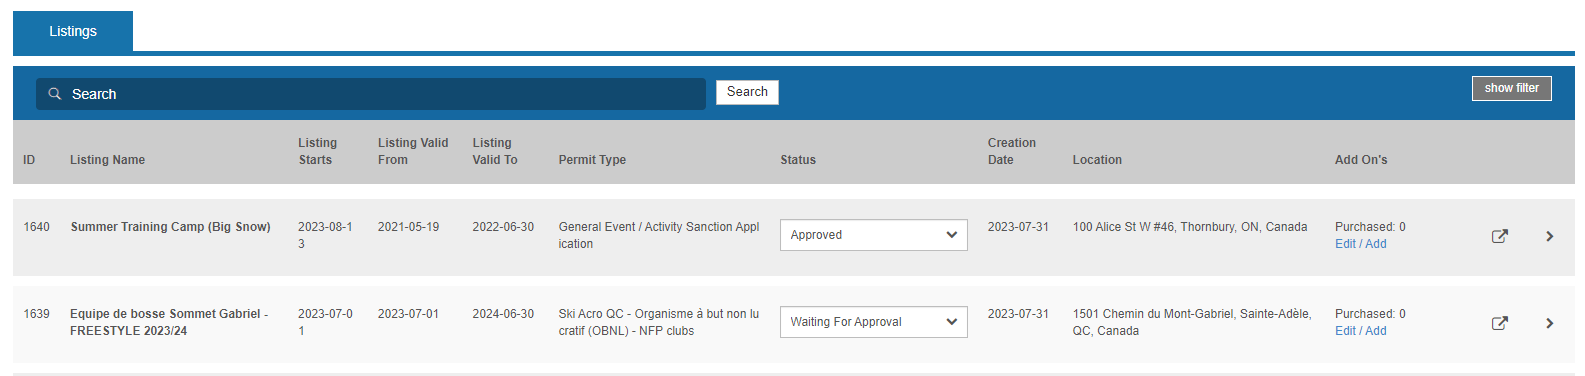
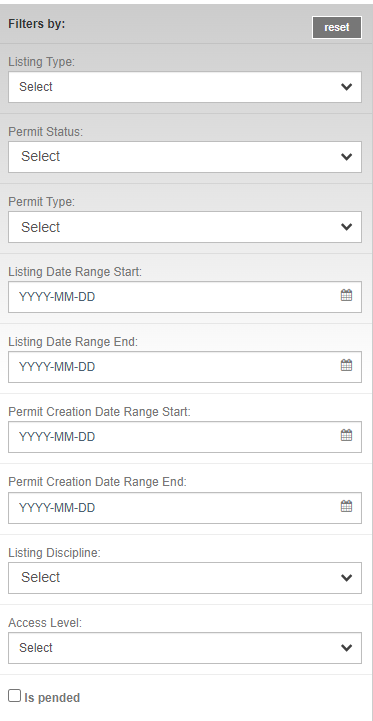
To easily find and access specific applications, utilize our convenient filter function. 
Permit/Application status:
There are three main statuses that you will encounter:
- Incomplete: This status indicates that someone has started an application but has not yet finished it or has not completed the payment. It is up to you to decide whether you want to follow up with applications that have been incomplete for a while.
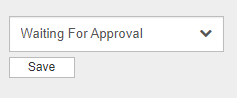
- Waiting for approval: Once the application has been submitted and payment has been made, it is now the responsibility of the PTSO to review and approve it.
- Approved: After reviewing the application, the PTSO admin has the option to update the status to "approved".
To finalize the change in status, simply click on the 'Save' button to confirm.
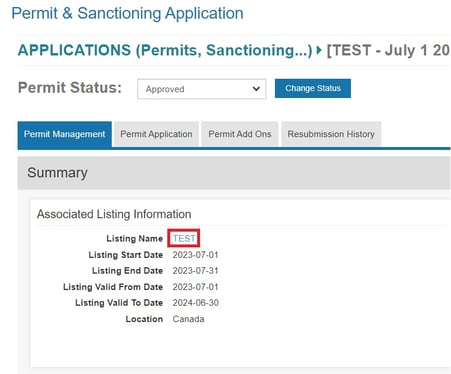
3rd step: Review an application
To view a summary of the application, simply click on the small arrow located on the right side. This will provide you with an overview of the application details.
 To fully review the application, click on the 'Permit/Application Details' or on the square with an arrow.

From there, you can view the status of the permit and even add a pending status for the permit/application along with helpful notes for clarification.
1- Permit/Application management tab
From there you can:
- Resend confirmation email:

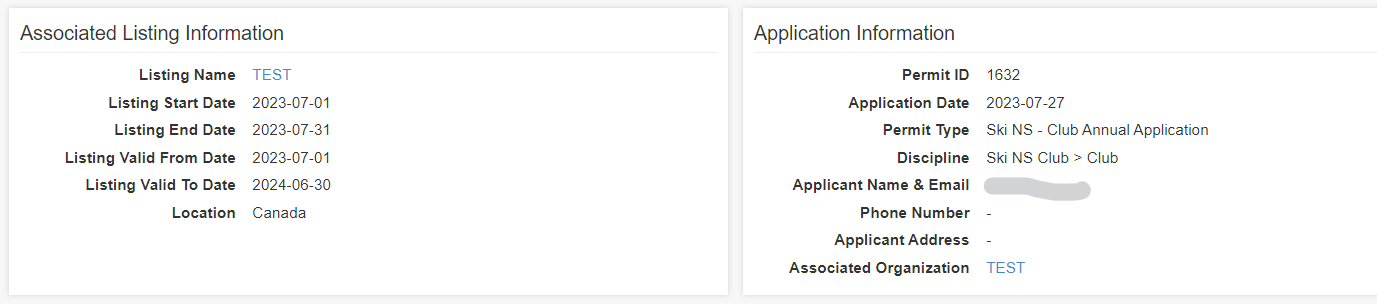
- Check the listing information
- Check the permit/application information
- Check the applicant information (who submitted the permit/application)
- Check if any applicable waiver has been signed

- Add comment for internal purposes, or to update the applicant

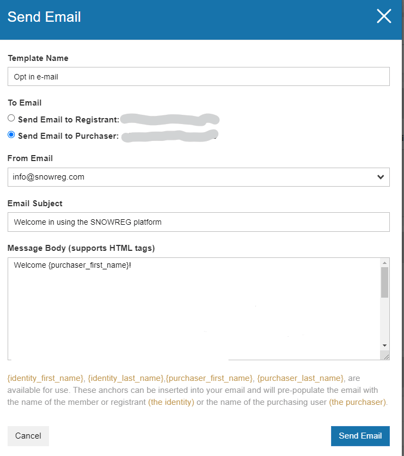
- You have the option to send a notification email to the applicant directly from the application process. If you frequently send follow-up emails, you can save them as templates for easy access.
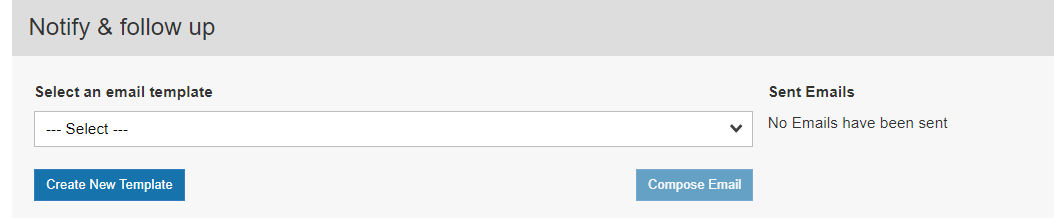
After selecting a template, click on "compose email" to complete the email. This action will prompt a pop-up window for sending the email.
- Add supporting documentation if relevant

2- Permit/Application tab: question answers
From this tab, you will have access to review all the information provided by the applicant during the application process. You have the option to generate a PDF if necessary or make edits to any of the answers.

3- Add the club to a directory
To ensure that your club listing is approved and visible in your provincial or national organization's club directory, follow these steps:
1. Open the club listing by clicking on the club's listing name from the Associated Listing Information section.
2.The club's listing information will open up in a new window tab
3. Scroll down to 'Listing Details' and click 'Edit' on the right side of your screen
4. Change listing status to 'Approved' and tick 'Visible'

By completing these steps, you can ensure that your club's information is readily available and accessible to members and other interested individuals in the directory.
Access your list of applications (Excel format)
You can access the list of applications in the 'Application/Permit reports' section of your club-sanctioning membership organization. Simply navigate to the 'Application/Permit reports' section to find the list of applications.

